This is a detailed guide Tom Clancy's Splinter cell 3D.
It will guide you through the game and also explain game mechanics in great detail. It will also mention glitches I’ve experienced, and observations I had while playing the game.
Lighthouse[]
☀.Lighthouse: the dungeons.[]
When you arrive on the beach to the lighthouse, pass through the caves but don’t shoot the lanterns that will hurt you. Once you pass that you’ll hear gunfire and you’ll have to climb the walls once you do there will be a soldier standing on the other side of the ridge, you have two options: walk on the bridge or take this small path. If you take the path there will be a rock you can pick up to make a distraction or use it as a weapon if you aim it right, you can knock someone out or use it to break lights. if you take the bridge move slowly to avoid creaking that will be a common hazard, you could shoot out the lights, disable them, or sneak behind the solder, sneaking behind them normally is to slow so to get around that to stealth walk faster, equip your pistol crouch and move, moving while aiming makes no walking sound use this to your advantage, it really comes in handy later but sadly it doesn't stop creaking floorboards. Get behind this soldier and interrogate him, you should always do this when you have the chance. He’ll tell you some stuff, now go down the hallway there is a save point here and a medkit, so then get through the door and switch the generator off and get behind one of them, then grab and kill him. After that shoot the other. next, is a staircase go to the top and scan the box, like lambert tells you, and next up is the first time you can lockpick, the door will be locked so weather pick or break the lock n the next room there is another medkit and behind it is this huge ramp with water pouring down, get to the bottom of the ramp and there will be some large crates stacked up on one of those crates will be a little box you can pick up, pick it up the box has flashbangs in it. (there are lots of ammo boxes throughout the game and can be picked up at any time regardless of how much ammo you already have, they come in two different colors red and yellow. red is bullets for either of your guns and yellow is equipment like the sticky shocker, grenades, airfoil rounds, smoke canisters, and flash grenades but strangely there is no pick up for sticky cameras or wall mines) Next, take out the two soldiers in that room and you will see Morgon holt's body in a tub of mud chained up to a pipe, I recommend you cut the chain even though lambert will yell at you for doing so, but don't shoot him because lambert will scold you for doing so, after that it’s on to the next section.
☀Lighthouse: The fortress.[]
Now you’re in the fortress, you’ll see a tent move to the back of the tent and cut the material, once you cut it you’ll see a solder at a table, equip your pistol and move behind him and interrogate him, he’ll tell you that Lecarda left on a boat an hour ago (so you can’t kill him in this mission so scrap that objective) Now move to the next door and either wait for that soldier to move or kill him. In the next area, there will be a tent and a box to scan there, after that move to the next area a tunnel with a gate door move though and wait for the soldiers in the next room to move, and there will be another tent and some boxes but you can’t scan them, in the next area (is structural remains of the fortress that looks kind of like the Alamo), get past the guards and move to the next room and go up the staircase and there will be a locked door. you can break the lock or pick it, I recommend to pick it because if you break it you’ll alert the soldiers in the next room so pick the lock and equip the pistol and move behind the soldier in the chair and shoot him but don’t grab him and kill him because that will wake up the soldier sleeping in the bed, so shoot the chair guy and the guy in the bed. (There will be another medkit here and a fireplace) go to the next room and walk down the hallway and walk through the curtain and you’ll see an engineer so interrogate him and access the computer there. this one is the first computer in the game. delete the information on it.
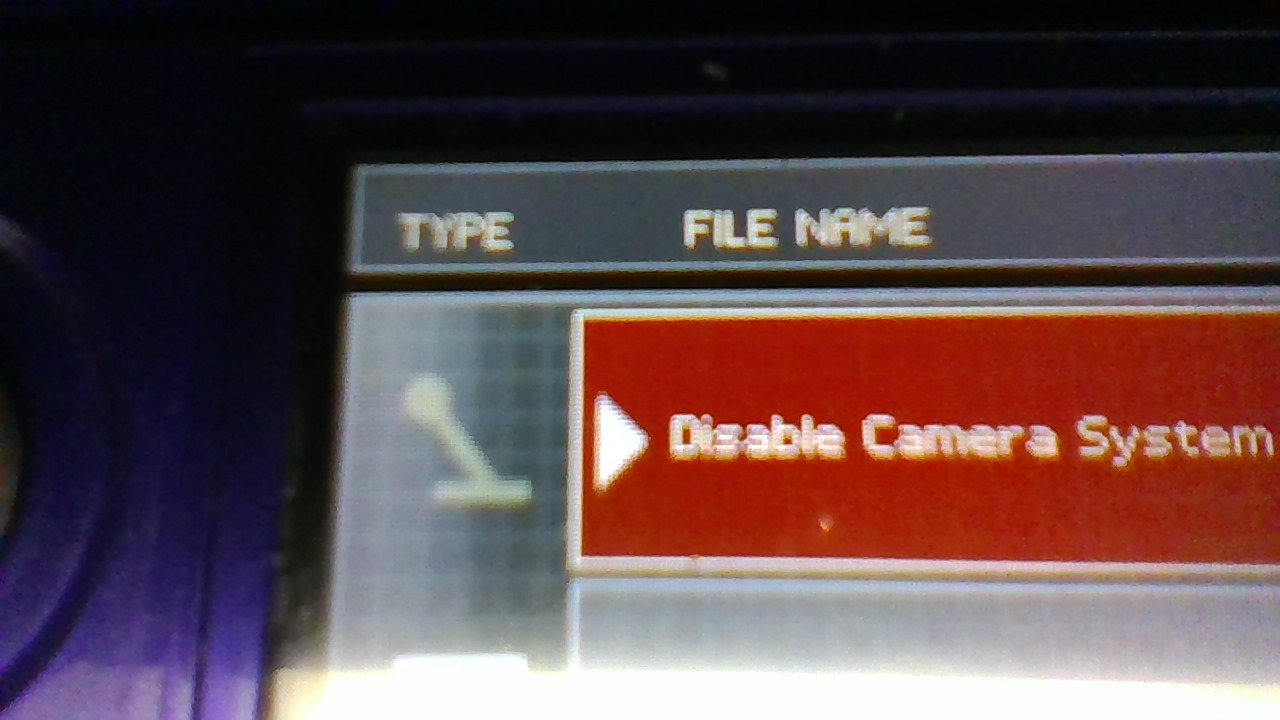
☀computer guide: This is by far the most complex interact-able object in the game. computers in this game work like this; there's computers and laptops and they act mostly the same but are different but, both computers in this game can be accessed directly from the keyboard of it or from a distance with your EEV[Electronically Enhanced Vision] if you can’t reach it for some reason. when you do access them they are like this: the computer has files on it.


and so these files are listed from top to bottom and can range anywhere from just three four or just one and sometimes zero and when there’s no files on the computer there’s nothing you can do with it. computers can be shut down, started up (called in game booting up with the option “boot computer”) or it can be “turned off” but, this is just turning off the monitor on the computer itself and both the monitor and the computer server can be “OCPed”. so the monitor screen will turn black and when the server is “OCPed” it is inaccessible for a few seconds and the monitor will be off for a few seconds too. But when the monitor is destroyed you can still use it. (which doesn't make any sense because you can’t see the screen when its broken) but when the keyboard is broken you can no longer access it from up close so you have to use EEV, which still works when the screen is off or broken. (which i guess sill makes sense because you’re hacking into it) but when the server is destroyed it is completely inaccessible.
and in the back of the room there will be another box to scan and (a window to look out that shows the lighthouse), so after that there will be another locked door so pick the lock or break it (there’s no one in the next room so breaking it is’t a problem) so once your in the next room and go down the hatch to enter the Lighthouse section.
☀.Lighthouse: the Lighthouse.[]
After that, you move forward and take cover behind the door and wait for the conversation to finish and then use the OCP on the light and conceal your shots with the lightning, (like the game says to) from here you can see the lighthouse (you're almost there!) (There are also cannons here and some more of the fort) there’s also a box to scan here, this is the last box. you’ll notice a shed and a staircase head down that and open the next door after the gate door go down the ladder and don’t shoot the lantern there and move forward, now sneak behind this soldier and kill him (you can’t interrogate him), so after that move over to the next area and there will be another rock here to pick up so you can use that, but don’t throw it into the water (because you wouldn't be able to get it back unless by using a glitch I’ll mention later) You can use it to break the light on the bridge or to knock out the soldier's here as the rock never breaks, (unlike some fragile objects that will be mentioned later) Now move to the side of the lighthouse where the concrete is replaced by the rusty railing and looks away from the island with a save point and open the door and either: wait for the radio conversation to finish, knock him out with the rock, interrogate him or kill him and search the filing cabinet. (No matter what choice you make, you will still complete the objective) So now go up the ladder and pick up ammo on the table to your left, there’s also a medkit here too, you might notice that as soon as you climb the ladder you will drop the rock there is a way to bring it with you but I’ll mention that later. So next climb the stairs to the top, go up the ladder and you’ll be in an office room with a lantern and a save point, so then climb up the ladder and go around to the door, OCP the lights and sneak past the soldier and climb over the railing, move to a spot the soldier stops on and pull him over the railing( just like in the trailer) after that turn off the lights and call for extraction.
But wait i mentioned a glitch and a way to bring the rock with you, unfortunately you can’t bring the rock with you to the next mission ( or between sections like any objects) but you can bring it to the top of the lighthouse. to bring the rock with is easy but when you have to climb ladders it becomes much more difficult. so to bring with you past a ladder you have to throw it upwards until you get it to the higher floor, on some ladders it's hard to pull off mainly the lighthouse ones because of the small hatch, the hatch door, the small space of the lighthouse meaning it can sometimes hit walls and fall back down without reaching the floor and even some other thing blocking the hatch make it difficult. but for the first one its easy to throw to the next floor but you still have to walk up the stairs( not so hard but don’t drop it you might not get it back) after that you just have to throw it up the next ladder and this ones EXTREMELY difficult so it might take a lot of tries, so to do that aim up and away from the ladder towards the wall slightly away from the hatch. This one might seem impossible, but believe me, it is possible. I’ve done it myself. So after that just do that to the last ladder and you’ve got it to the top of the lighthouse, it might be very hard but it's a rewarding experience. But there’s still the glitch left so to do that you’re conveniently already at the top of the lighthouse, so all you have to do( i recommend saving first) is go to where the gap in the railing is and run and jump into the water. If you’re lucky you will have survived that but it can take a few tries but if succeeded you can now walk on the water. You can go: around the lighthouse island, on the rocks, not under the bridge and the edge of the map, this isn't as hard to pull off but it's still rewarding. But There’s no way to get back up!! (besides reloading the save or checkpoint) Alright next up is the cargo ship.
Gallery[]
Cargo Ship[]
☀Cargo Ship: Lower Decks.[]
So you start on the front deck of the ship, you can see the bridge window from here with a well placed sticky camera also notice the moon here and the ocean which can be seen throughout this mission. now wait for the soldier and the engineer to meet and wait for their conversation to finish, then as the soldier goes down the stairs move behind the engineer as he turns away and kill him(using the R button) or interrogate him and he’ll tell you there are thirty-six men on board including Lacerda and his bodyguards he also says you wouldn't find Lacerda where there’s work to be done and that he’s probably drunk right now. Now go down the stairs and wait for the soldier to enter the doorway of the room with the electrical problem and follow him with the pistol walk(equip the pistol and move). Now move down the walkway and get the stairs then equip your pistol and shoot the sleeping guard with a headshot, don’t shoot the fire extinguisher here, then open the sliding door here(note you can’t go back past this point because as soon as you descend the ladder sliding door closes itself and you can’t open it while on the ladder on the cargo hold’s floor so you can’ go back past this point.)note this is one of the few missions with sliding doors they being a major part of this mission almost every door in this mission is a sliding door, Hokkaido where every door slides and The bathhouse with a sliding door for its front entrance, this is also the first sliding door in the game. Now go down the ladder and don’t break the lantern here, and now climb the boxes or move in the gap in between the boxes, And move to the next room and remember that big box in the lighthouse room with the generator, now there are five of them and you have to put trackers on these weapon crates, now move to the ladder, go up and don’t shoot the fire extinguisher here, now move down the hall and you’ll see a static door with a valve on it here that’s leaking water next to a mop bucket/janitor’s cart. move further and open the next sliding door(the other door with the valve on it leads to the pump room but you can’t open it) then move forward and you’ll notice the sound of the metal grinding machine is a slightly different version of sam fisher’s pain grunt. Now move behind the workshop guy and kill him(you can’t interrogate him) to exit this workshop enter the vent on your left and crawl to the end of it, exit and wait while the soldiers are talking, then after the conversation is done jump up to the pipes, move above the soldier and knock him out(just like in the trailer) now climb down from the platform(not the ladder you’ll get spotted), sneak behind him and kill him. Now activate the pump from the console otherwise you can’t open the next door because of the water leak/blockage. Then walk down the hallway and open the sliding door and enter that room(there’s a save point here) then search for the bill of lading in the back of the room, once you find it read it and(weap) go to the door then wait for the soldiers conversation to finish and for them to pass the door. Then kill them and walk down the hall to the stairs. (this next part is difficult) now go down the stairs to the engine room and hold your fire because there’s a gas leak in the engine room that’s strong enough for Fisher to smell, shooting sets it off (OCP does not count or set off the leak) and even the launcher gadgets set off the leak resulting in an explosion and fire everywhere, in fact shooting in the room with different weapons makes different explosions and sound, shooting with the sc-20k makes it look like you have a flamethrower and the fire hurts you but not only that it also shakes the map, the one you’re in and the pause one similar to another affect that when the screen flashes an alert status color: red, yellow, white. If you pause quickly enough and go on the map, it will have the color tint over it, it can also be done with the compass button if fast enough but I’ve never tried it. Now there are three people in that room and they know about the gas leak(from a conversation) but they don’t think it's dangerous so they will still shoot at you resulting in an explosion. It's okay if the shots come from the doorway and go into the engine room. And now move to the soldier going to the right of the engine room then kill him, now wait for the engineer to move around the left turbine and pistol walk to him from behind then grab and interrogate him(he talks about the gas leak and fisher tells him who dangerous it is though it doesn't do much good) or kill him, then move the stairs(you can save after each one to make it easier), use the ocp on the light and ascend the stairs and pistol walk behind the guard and kill him(i recommend saving right after) then go to the left side of the room climb those stairs there and go to the right then forward and pass the box(note the purpose of this box is to block the player from leaving with an explosion active, due to the delay these boxes proved and the fact that you can't set off the leak from behind them to stop you from leaving with the engine room destroyed, it's very similar to another glitch in the game that when killed someone when not allowed if you get spotted by a camera or caused an alarm before Lambert ends the mission you'll actually get away with it, this can happen in two missions: Displace and Kokbo Shosho) in the tiny room then onto the next section.
☀Cargo Ship: Upper Decks.[]
Now you are at the upper decks this is where the offices and cafeteria are.(There’s a save point here) note while you’re inside the ship it will have a seasick effect (rock back and forth, note this is the only level with this effect)with an ambient oil drip sound throughout the ship except when you’re outside it will rock but there is an ocean wind sound. Now go up the stairs and towards the water fountain and then sneak into the office room here then search the computer and take the ammo here(it will be another 20 SC20-K rounds and one sticky shocker) then go across the hall to the door then open it and climb the stairs and open the sliding door, now go down the hallway then wait for the engineer to go to the cafeteria then move forward and left to the breakroom and then wait at the vending machines until the conversation about bad coffee finishes and ocp the lightbulb, then sticky shock the front the guard and then the back guard, after that pick up the ammo on the table(there’s a lot in this mission and this is yet again 20 SC20-K rounds), then after that listen to the hum of the vending machines(it’s quite calming) now move to the cafeteria and wait as the soldiers complain about Lacerda(no one on the ship likes him) so then sticky shock the one at the kitchen entrance then kill the one at the other wall next to the buffet. And now enter the kitchen and you’ll find the second weapons crate and a save point, after that move to the closed-door, not the one that's stuck open, then open the door move down the hallway and don’t shoot the fire extinguisher here then open the door and step outside. Over here will have the side deck stairwell under the first staircase is the third weapons crate, now move through the door here and down the hallway, then open the door and move into the room then OCP the lights and walk behind the guard who was looking at the map and kill him, then quickly run to the other guard and kill him too. Now then just access the computer and you’ll notice how the computer logo is different from the first mission that’s because all mission has there own computer logo except in certain cases where a logo from a different computer will be in that mission too like: penthouse has Displace, and so does bathhouse, but Hokkaido has no computers. now go back to the hallway on the right and go to the other door and go in there, there’s no enemies in this room just a computer then access that and leave the room now go to one of the stairwells(i recommend the indoor one because it's easier from there,
☀Cargo Ship: The Bridge.[]
So now(indoor stairwell) you’re on deck C. so now the fourth weapons crate is here along with a save point now move forward then wait at the doorway next to the stacked boxes the wait for the soldier moves to the middle of the hallway and turns around then pistol walk or(use the SC-20K, it has the same effect) to follow him and grab him before he gets to his room(his room is pretty nice and big so he might be the first officer, but the captain’s room is still better)then while holding him move down the hallway you came down then kill him(can’t interrogate him) then move to his room and go to the door behind you then turn off the lights(Precaution) and slide it open and kill the sleeping engineer, now them exit the engineer’s room,(optional for easy way) and go back down the long hallway then go behind the boxes to go to the captains quarters early then go to the door and go left and down the hallway(the third static door is here) now go into one of the door’s(the kitchen is very nice, it's got cabinets, a microwave a sink, a wine bottle and a mini bar fridge) room and go to the right then left to the sliding door then go in that stairwell. now go into the bedroom then go to the wall and place a wall mine and leave without setting it off(it’s recommended that you save before placing the wall mine so it doesn't disappear.) So after that go past the boxes then down the long hallway and;(both options) go right then left to the sliding door then go into that stairwell. Now you’re in the stairwell with a medkit and a save point, now climb the stairs to the bridge, then wait for the captain’s conversation to finish and the captain to move to the front then move towards the engineer/assistant and grab him, then move behind the computer consoles behind the captain and then knock him out so you don’t alert the captain, then sneak behind him and grab him then interrogate him. (and he reveals that he too hates Lacerda and that he’s glad you're here to kill him, so he gladly tells you his location and that’s in the captain’s quarters and he gave him his room to shut him up) so that’s where you have to go. (the easy way) now go down the stairs(don’t save yet) and run down the hallway and go past the boxes and to the doorway and BOOM!! Lacerda and his guards die upon spawning and you don’t have to fight them(this is because they don’t spawn until you talk to the captain, so knowing where they are in advance gives you quite an advantage), the whole room is on fire afterward (just the body) and lightbulb is destroyed and all objectives are complete! (the hard way) go back down to the long hallway and pass the boxes then sneak to the door and go down the hallway and to the kitchen and enter it, Then either be stealthy or engage in combat.(this part is very difficult) (Stealthy) now move and hide behind the stuck-open kitchen door and turn off the kitchen lights, then wait for Hugo Lacerda to open the captain’s mini-fridge. then grab him and take him to the nearby hallway. Now interrogate him. (note that this is by far the most complex interrogation in the game)(if you chose the stealthy way, you’ll hear Lacdera say the name of his Panamanian contact before going to the kitchen to look for rum.) (Combat) Now go down the hallway and enter the kitchen. then throw a flashbang into the captain’s room, and shoot them. (Both ways) now go back down the hallway and make your way to the bridge. Now move to the outside deck, and wait until the soldier patrolling moves towards the sliding door on the higher deck, (deck E) now sneak behind him and kill him. Then go to the sliding door and open it, Then move down the hall to the next sliding door. Now you’re in the ship’s radio room. (this is where you go to get the location of Lacdera if you kill the captain or knock him out before interrogating) Now wait for the engineer to move to the big computer, then sneak behind him and kill him. Now slowly sneak behind the soldier and kill him. (the same strategy can be used when coming here for Lacdera’s location) now then exit the radio room. (note this hallway has the oil drip sound despite not being deep in the ship. Also, note the radio room has the same ambient sound as the bridge) now go forward towards the bridge (and you’ll see the fourth and final static door. This area is also good for looking out of bounds as the player can shoot sticky cameras on the Crows nest or other high parts) then go towards the back right part then you’ll be on a very high ledge. (note this is the second-highest ledge but has the longest ladder in the game) Now equip the sniper and shoot the enemy on your right side (due to the angle of the ledge and the sniper zoom, hitting the left target is not possible) Now just wait for the left soldier to reposition to a better angle, then shoot him. Now do not jump from the ledge unless you are trying to perform the “red health bar” glitch. Now Then just descend the ladder and go to the big grey box on the deck and place a tracker on it (6th and final weapons crate) Then climb the first ladder, Then the one leading to the medium platform, and exfiltrate on the ship’s lifeboat. Now prepare for the bank.
Gallery
Bank[]
☀Bank: North Wing[]
So you start out in the bank’s courtyard with two soldiers nearby. So you now wait for their conversation to finish and then pistol walk behind the closer soldier and kill him. Then avoid the lights and do the same as the first guard. Now open the door on the right and go down the hall. (the game lags a tiny bit here, but doesn’t for the rest of the mission) now open the door and go forward to the arch. now you’re going to encounter the first camera.
Cameras[]


The first camera in the game.
Cameras are a fairly common obstacle in the game and will appear in most missions after this point. (all high-tech missions) the cameras can be recognized by their distinct sound. They can also be accessed and viewed via a computer. (as mentioned before) they are a large threat to you, but they can since they are electronic, they can be temporarily disabled with the OCP,(if you leave the section of the level while the camera is disabled from the OCP this will trigger a glitch that makes you incapable of deactivating it) to allow you to pass them without being seen. However, if you are spotted by them they will sound the alarm. There are also other ways to avoid them.
- Such as seeing the inferred beam projected by the camera that also shows its field of view. (only works on certain cameras, mainly the ones in Penthouse, where this mechanic is introduced. And also some in Kokbo Sosho.
- The cameras can be turned off via a computer switch to deactivate the cameras. (this will also be seen later in the bank mission, but that is the only time it’s seen)
- The cameras can be destroyed with a sniper shot. Though this is not recommended as it will also sound the alarm, (this is the only thing capable of destroying them. They also can’t be destroyed in the deactivated camera state) this can help with the “Lambert lets you kill” glitch and so will anything that sounds an alarm.
Now after avoiding that camera, climb the ladder leading up to the roof. (there's also a whisky flask near the bench) (you can’t move to the longer ledge here because of a wall, but you can shoot a sticky camera at the far wall) now move to the left until you come to this big area of the roof (with a glass dome and lots of machines that make different ambient sounds) then head towards the power room door and either pick the door’s lock or break it (there nobody in the room, so breaking the lock isn’t a problem) after that turn off the breaker and head to the glass dome (there’s a save point here) turning off the breaker deactivated the dome’s magnetic locks and triggered a laser grid to activate in the teller’s booth. So repel down to the lobby (don’t drop down as the fall can kill you) and use your EEV on the computer and turn off the laser grid (or you can use the OCP on the lasers. it will work since they are electronic) (the flatscreen computer here will change models if destroyed, to a CRT monitor. And this is the only one in the game that does this. it also has a weird double screen effect) Then pistol walk to the guard sleeping in the chair then go behind it and grab the guard from behind and interrogate him (he will then tell you that he can unlock the retinal scanner for you. and that each of the teller’s booth drawers keeps an overnight float of a thousand balboas) so then either use the scanner first or head towards the front. Either way head to the front of the bank and open either of the side doors then wait by the corner and shoot the guard at the reception desk in the head. Now move to the desk and use his computer. This is where you see the opportunity objective for this mission. (after you hack the computer) you plant a series of false emails to make the robbery look like an inside job. Now plant the first one and read the next email. (this one tells you the door code for both security rooms on the first floor, 3624 [codes don’t randomize in this game]) (if you try to destroy the computers in this level you’ll notice they are stronger and take at least 3 hits while keyboards take 2. Only this mission has this effect) now go back to the scanner and head to the next section.
☀Bank: East Wing[]
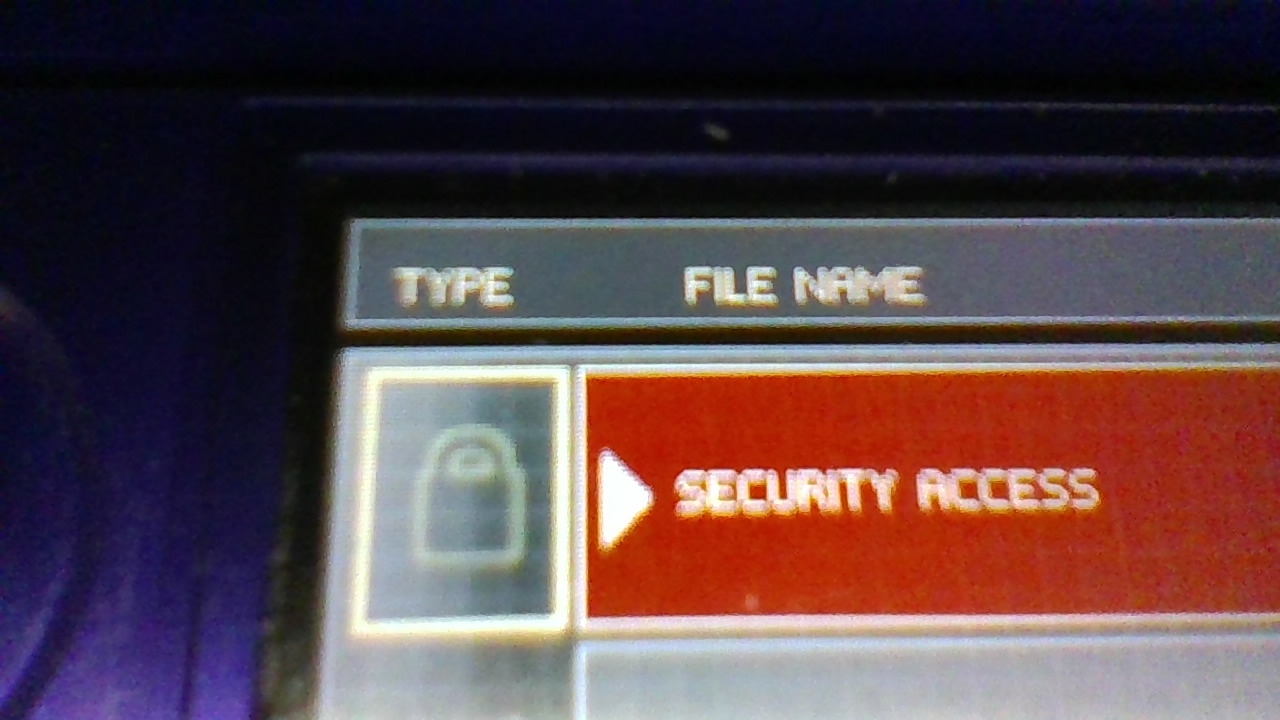
Now wait at the corner for the conversation to finish (there’s a save point here) then OCP the camera but don’t save while the camera’s disabled, as that will cause a glitch where cameras can’t be disabled when you reload the save. Now move over to the security room door and enter the code. Then whisper at the door so the guard will come there. Then wait for the guard to get there and bash the door on him. (if you don’t do it fast enough, he will try to open the door with you blocking it and then bash it on you) and then wait for the second guard to come out then grab him and interrogate him. (he will tell you that the camera system is centralized and can be disabled from the second-floor security room) now then after killing them both enter the security room and look on the computer and upload the second fake email. (this computer has the camera directly outside the room) now then move forward to the area with the glass door, stairs, and medkit. Now sneak up the stairs and shoot the guard on the second floor. then climb over the desk and use the computer here and upload the third fake email. then move to the next hallway and then split jump in the narrow hallway (this is the first place you can do this) while in split jump you can: use your guns and drop down on enemies. but you can’t use grenades. Now when one of the soldiers comes below you, drop down on them to knock them out. Now then pick up the body and move it to the next area with lasers (and you’ll notice that the laser disappears when the guards are near them. This is because the guards in this bank wear special beacons that disable the lasers around them, so they don’t set them off. So staying close to the guards will protect you from the lasers) now take the earlier guards body and move it here (as the lasers need 2 beacons to fully disappear without moving the body’s every time) now after that either move to the next area or enter the door to next section, the west wing. (i recommend the next area) and wait by the corner then OCP the camera and move behind the glass room. Now enter the door code (2306) then enter the room and enable the security access panel. Now then shoot the commander in the head then sneak up behind the guard, grab him and kill him. Now access his computer and upload the forth fake email then deactivate the fan (optional, unless you’re coming in from the vents. Note: destroying the computer will also deactivate the fan) (one of the cameras on this computer is just the same one from the beginning of the section, even though this could have just displayed the camera next to the 2nd-floor security room) now use the computer to your left and delete the camera archives (so they can’t identify you) then disable the camera system. (optional, it’s not required but it just makes the mission easier. Note this does not work while the camera glitch is active) after that pick up the ammo box (Sticky Shocker) and leave the room and then go to the next area, the Secratary’s office. The secretary’s office has a locked keypad door to unlock. (code unknown) so hack it and OCP the camera. (don’t need to if the camera system is off) now go to the other door and either pick or break the lock. (nobody in there so breaking it isn’t a problem) now then enter the bank President’s luxurious office, (this office is very nice) then use the computer here and upload the fifth fake email. After that enable the security access panel in the back of the room and leave. Now head all the way back to that door lead to the next section and enter it. Next up is the final section of the bank.
☀Bank: West Wing[]
Descend the stairs and move forward. (there’s a save point here) then go down the hallway and disable the camera. Then move forward and go wait under the camera for the conversation to finish. (you might encounter a small glitch where this guard is floating) (you can also shoot a sticky camera to listen to the conversation) (it’s recommended that you wait for the guard to finish repairing the door, otherwise you’d have to go around) now wait for the soldier to leave and approach the door. Now enter the code (8645) and the room, the Treasurer’s office. Now then access the computer and search the filing cabinet. (there are two separate voice lines for if you searched the filing cabinet) (this room strangely has some unusable objects that are usable in other places. Like the soda can on the desk and the whisky flask on the shelf) now enable the final security access panel and head to the vault. (Now on your way there, you’ll see a security room that is optional but you need to enter and use the computer for the opportunity objectives)
Now then enter the safety deposit box room and open box number 1024 on the left-hand side (chest level) now take the object inside the box. (this is the only box you can open) now use the computer and use the file. After that head down to the main vault and pick a lock to place the Telemetric Pick. (I remember an old version of the conversation where turtle said “ male and female locks.” for whatever reason I could never get this line to repeat) (also notice the Telemetric Pick has the same placing sound as the Wall Mine) now then pick the lock you didn’t place it on. But you have to wait a short time between picking pins or else you have to restart. (notice these are the only locks with a computer chip, timer, or anything special) now once you finish that just place the charge. (these charges are like Wall Mines except you can only place them at certain places and times, and can’t be destroyed with a shot)) now go to the back of the room and detonate the charge. (this must be an EMP charge since the other charge in Kokubo SoHo has an explosion and this one has a withe flash and lightning) (you don’t have to go to the back wall to detonate, just as long as you’re not near the vault door) now stand back from the door and enter the vault. (this is the first door in the game that requires a special method of opening) now go to the back of the vault to the large computer, then access it. (this is the first special computer in the game) (this is where the alternate lines appear. The first line is triggered if you search the filing cabinet, and the second line is triggered if you don’t search it) now then access the MCAS transaction files, hack the computer then upload the eight and final fake email. (You can also turn off the vault floor lights. These can also be temporarily disabled by the OCP) Then after that open the cage and take what’s inside it. Now move to the vault door and use your goggles to see the secret laser in the vault door frame. Now either pass it while it flickers or OCP it and leave. (if you go through the laser you’ll set off the alarm on stage four and the alarm sound will stay on until you leave the vault area) (there also a sprinkler system here that can be turned on from the vault’s computer or set off by a WallMine explosion) now just head to the courtyard and throw a grenade up to the balcony. (only if you have an alarm active) then head down the zip line when the guard isn’t looking. then sneak behind him and kill him. Then climb over the fence to leave. Now get ready for the penthouse.
Bank: West Wing early[]
If you chose to go to this section first then head past the treasurer’s office and down the hall to the glass doors (or the vent in the office) and go outside and climb the pipes up to the balcony (note: there might be a guard up here. In that case, just throw a grenade up there to kill him. He only appears after an alarm has been activated) and climb into the vent to enter the east wing again. Now that you’re in the vents you need to go forward until you find the fan. (you’ll see another fan in a shaft going up but you can’t reach it, although, you can shoot a Sticky Camera on the spinning blades) now just go to the fan then remote hack the computer and deactivate the fan. Then shoot the guard in the head and drop down, then grab and kill the other guard.
Gallery
")
")